COMPOST AT HOME: Turning Kitchen Waste into Garden Treasure
- Biocare living

- May 3, 2024
- 4 min read
Updated: Jun 8, 2024

As an amazon associate I earn from qualifying purchases*
Today, we're embarking on an exciting journey into the world of composting. Whether you're a seasoned green thumb or just dipping your toes into sustainable living, you're in for a treat. Composting isn't just about recycling kitchen scraps; it's about nurturing the earth, enriching our gardens, and fostering a deeper connection with the natural world around us. So, grab your gardening gloves and join me as we delve into the wonderful world of home composting, where every scrap of waste has the potential to transform into garden gold!
1. Choose the Right Container: Start by selecting a suitable container or bin for your compost. You can use a traditional compost bin, a homemade wooden bin, or even repurpose old containers such as plastic drums or wooden crates. Ensure the container has proper aeration and drainage.
Affiliate links included*
BIG TIP TO BE SUCCESSFUL
2. Balance Green and Brown Materials: For successful composting, you need to balance green (nitrogen-rich) and brown (carbon-rich) materials. Green materials include kitchen scraps like fruit and vegetable peelings, coffee grounds, and grass clippings. Brown materials consist of dry leaves, straw, shredded paper, and cardboard. Aim for a ratio of roughly 2 parts brown to 1 part green materials by volume.

3. Chop and Shred: To accelerate decomposition, chop or shred your organic waste into smaller pieces. This increases the surface area, making it easier for microorganisms to break down the material.
4. Layering: Alternate layers of green and brown materials in your compost bin. Start with a layer of brown material at the bottom to help with aeration and drainage, then add a layer of green material, and continue layering until the bin is full.
5. Moisten the Pile: Keep your compost pile moist, like a wrung-out sponge. Water helps microorganisms thrive and break down the organic matter. However, be careful not to overwater, as this can lead to anaerobic conditions and unpleasant odors.

6. Aerate the Compost: Regularly turn or aerate your compost pile to provide oxygen to the microorganisms and speed up decomposition. You can use a pitchfork, compost aerator tool, or simply turn the pile with a shovel.
7. Monitor Temperature: As organic matter decomposes, it generates heat. Use a compost thermometer to monitor the temperature of your compost pile. Ideally, you want the temperature to reach between 130°F and 150°F (55°C to 65°C) to kill pathogens and weed seeds and speed up the composting process.

8. Be Patient: Composting is a natural process that takes time. Depending on various factors such as temperature, moisture, and the mix of materials, compost can take anywhere from a few weeks to several months to mature. Be patient and continue to tend to your compost pile regularly.
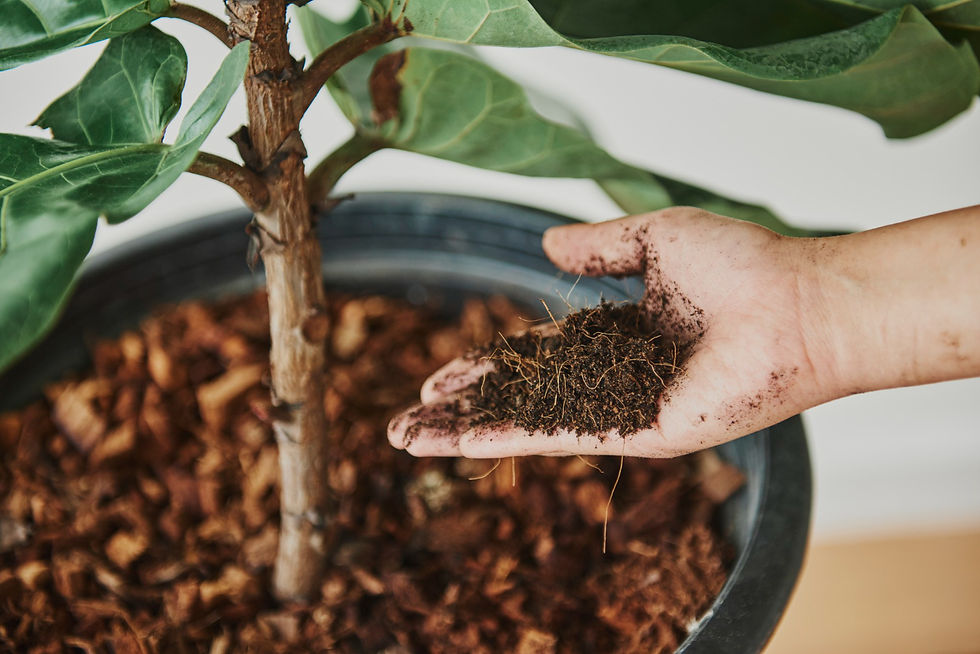
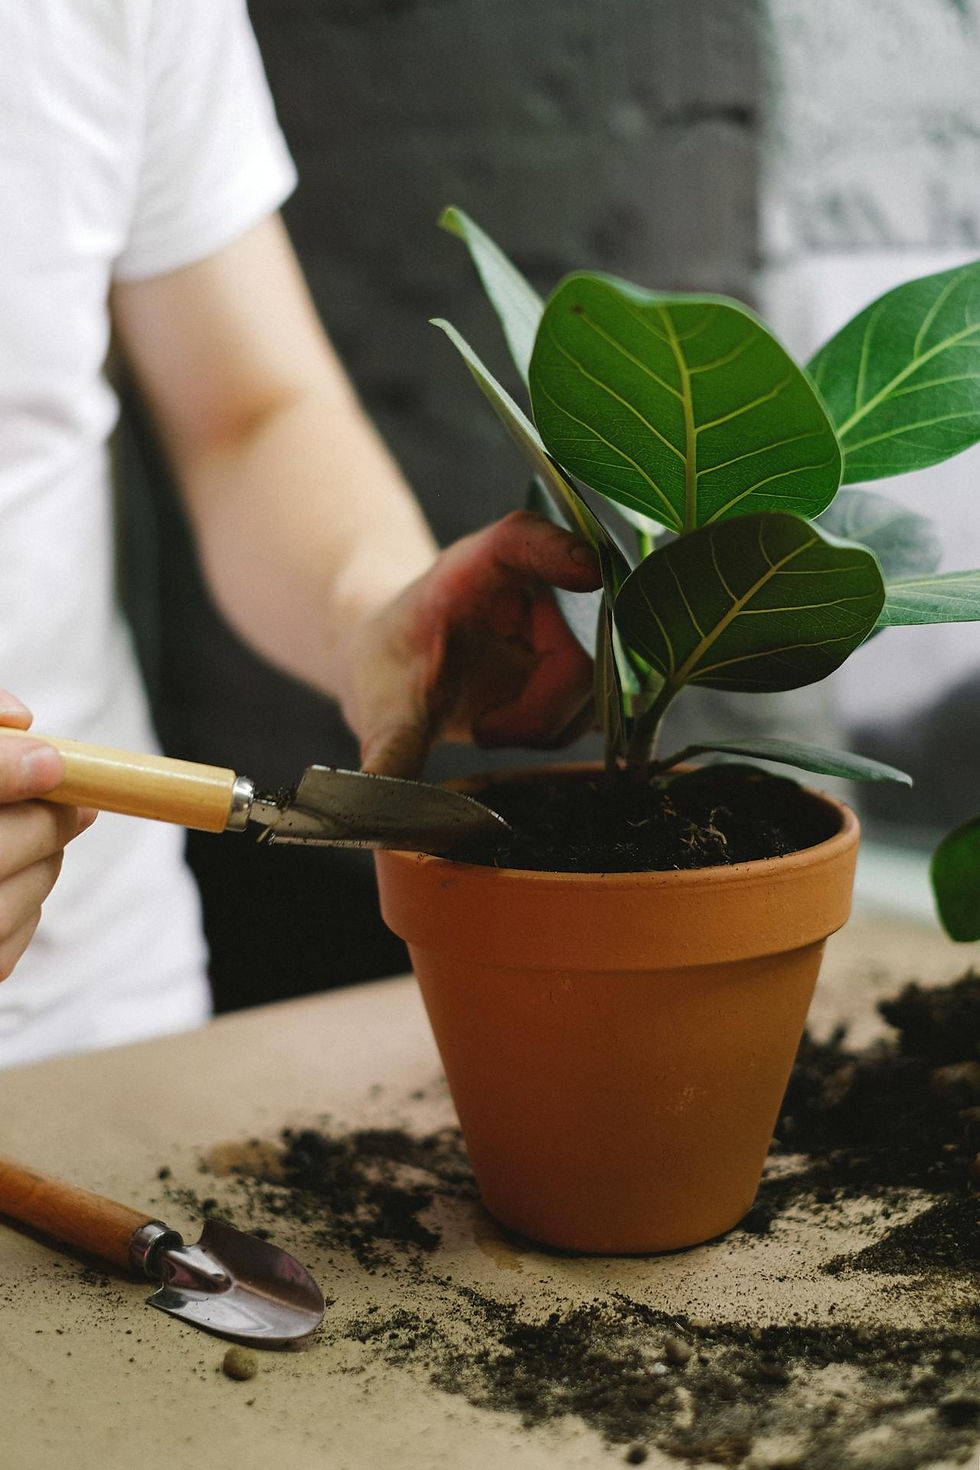
9. Use Finished Compost: Once your compost has turned into a dark, crumbly, earthy-smelling substance, it's ready to use in your garden. Spread it around your plants as a nutrient-rich soil amendment or use it as potting mix for container plants.
In case you want to make it in the easy way, I've got a tip for you: the Electric Kitchen Composter. Yep, you heard that right – composting just GOT ELECTRIC!
Affiliate links included*
If you're curious about how to use it, fret not! Here's a simple guide to get you started with your Electric Kitchen Composter:
1. Setup and Prepare: Unbox your Electric Kitchen Composter and find a convenient spot in your kitchen. Ensure it's near a power outlet. Once placed, make sure the composter is clean and dry, following any setup instructions from the manufacturer.

2. Add and Layer Materials:
Start composting by adding kitchen scraps and organic waste into the composter. Include fruit and veggie peels, coffee grounds, eggshells, and a sprinkle of paper products like napkins or coffee filters. Alternate between wet (green) and dry (brown) materials to optimize the composting process.
3. Secure Lid and Activate: Once your organic waste is added, securely close the lid of the composter to contain odors and deter pests. Activate your Electric Kitchen Composter according to the manufacturer's instructions. This might involve simply switching it on or setting a composting mode.

4. Monitor and Adjust: Keep an eye on your composting unit regularly to ensure it's running smoothly. Check the composting progress and adjust input materials if needed to maintain the right balance.
5. Empty and Utilize Compost: When the compost is ready, typically indicated by a light or timer on the composter, it's time to empty the unit. Open it up and remove the finished compost to use in your garden or potted plants.
6. Clean and Maintain: After emptying the compost, clean the interior of the composter as per the manufacturer's instructions to maintain hygiene and prevent odors. This ensures your Electric Kitchen Composter stays in top condition for future use.
If this sounds like your composting dream come true, I've got just the thing!
Click the link below to check it out.
Affiliate links included*


